Part 6 - Embedding your Sidekick
In Part 5 we learned about GenUI, the built-in components, and how to create custom components.
In Part 6, you will:
- Look at how a Sidekick can be embedded into other applications.
- Introduce the various embedding approaches.
- Update an example web application to embed our Sidekick on the page.
Up until now, we have seen how to interact with our Sidekick in various ways:
- REST API → Each Sidekick has its own REST endpoint that can be used to have a conversation.
- Fixie Dashboard -> Fixie provides a web UI in the dashboard for interacting with a Sidekick.
Sidekicks can also be embedded in any application or website.
Why Embed a Sidekick?
Embedding a Sidekick enables you to provide its capabilities to the end-users of your app. Imagine if your GitHub Sidekick were embedded right on GitHub.com. You could simply have a conversation in the context of what you were looking at or doing on the site. And with tools, Sidekicks could be equipped to take action on behalf of end-users.
Types of Sidekick Embedding
The Fixie Platform SDK enables you to embed your Sidekick in two primary ways:
- Bring Your Own Frontend → This is when you want to go fully custom and have fine-grained control over everything. This is beyond the scope of the tutorial. There is an example here.
- iframe Embedding → This is an opinionated approach. Fixie provides three React components each with different behaviors:
<FloatingFixieEmbed />→ Provides a button that shows up in your app that end-users can use to toggle the floating chat window.<ControlledFloatingFixieEmbed />→ UnlikeFloatingFixieEmbedit does not provide a button for launch. You manage visibility yourself via thevisibleprop.<InlineFixieEmbed />→ Embeds the chat window for your Sidekick inline with the content on your page.
Embedding the Sidekick
For this section, we are going to use a RedwoodJS sample application. From your terminal:
git clone https://github.com/fixie-ai/redwood-fixie-sample
cd redwood-fixie-sample
yarn install
yarn redwood dev
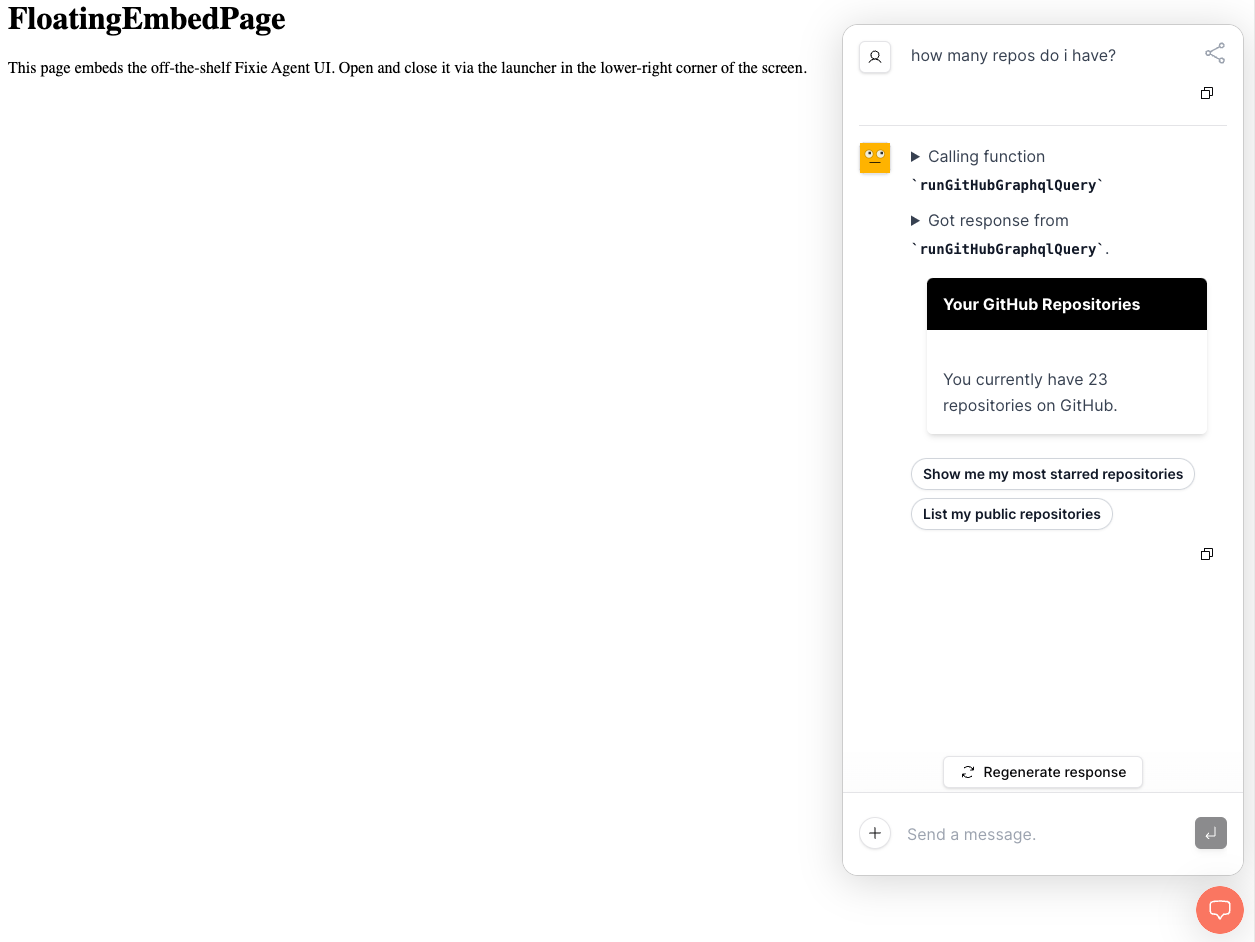
In your text editor, open the file web\src\pages\FloatingEmbedPage. Edit the following line to include your Fixie user name and Sidekick name:
<FloatingFixieEmbed debug agentId="<Your_User_Name>/<Your_Sidekick_Name>" />
Save the file and then navigate to the FloatingEmbedPage. You can now click the chat button in the bottom-right corner and start interacting with your Sidekick.
This section provides some optional, suggested exercises you can do to go deeper with your usage of Sidekicks.
Try Other Embedding Components
In this part we used the <FloatingFixieEmbed /> component. Try experimenting with <ControlledFloatingFixieEmbed />. Where in your app might you want to control the visibility of the Sidekick? When would it be useful to have everything inline and use <InlineFixieEmbed />?